Machine Learning primer: A mini course
Overview
These particular notes are built upon the A mini course in Machine Learning for Physicists notes available here: A mini course in Machine Learning for Physicists, which will keep getting updated over time. The main target of this particular jupyter book is for the Machine Learning Training workshop organised by HEP software foundation and IRIS-HEP.
Given our modern day use of all things electronic, you can run, you can hide but you cannot escape ML. From smart phones to smart toothpastes, ML is everywhere. The aim of these development is to help physicists to wrap their head around all things ML.
In this course, “we’re here for a good time, not a long time” so let’s first learn what this course in NOT for
We are not going to learn facial recognition.
Not going to develop a algorithm that predicts our mood better than Youtube or Netflix.
No self-driving cars here.
Not even making AI driven music or art.
Nor would we learn to beat Magnus Carlsen in chess.
and million more things, that we are not going to learn.
The main objective of this course are
To introduce you to the basics of Machine learning with examples.
To develop a sense of statistics/data science algorithms that goes under the hood of a ML model.
Explain the terminology of machine learning.
Introducing you to some Python frameworks to start building your first Machine.
Getting familiarize with basic ML models that are although very common but can serve as a basic starting point.
Getting you prepared to learn on your own once this course is over.
With all these let us first have some basic motivation for learning ML in the context of our pursuit of artificial intelligence.
Aritificial Intelligence and Machine Learning
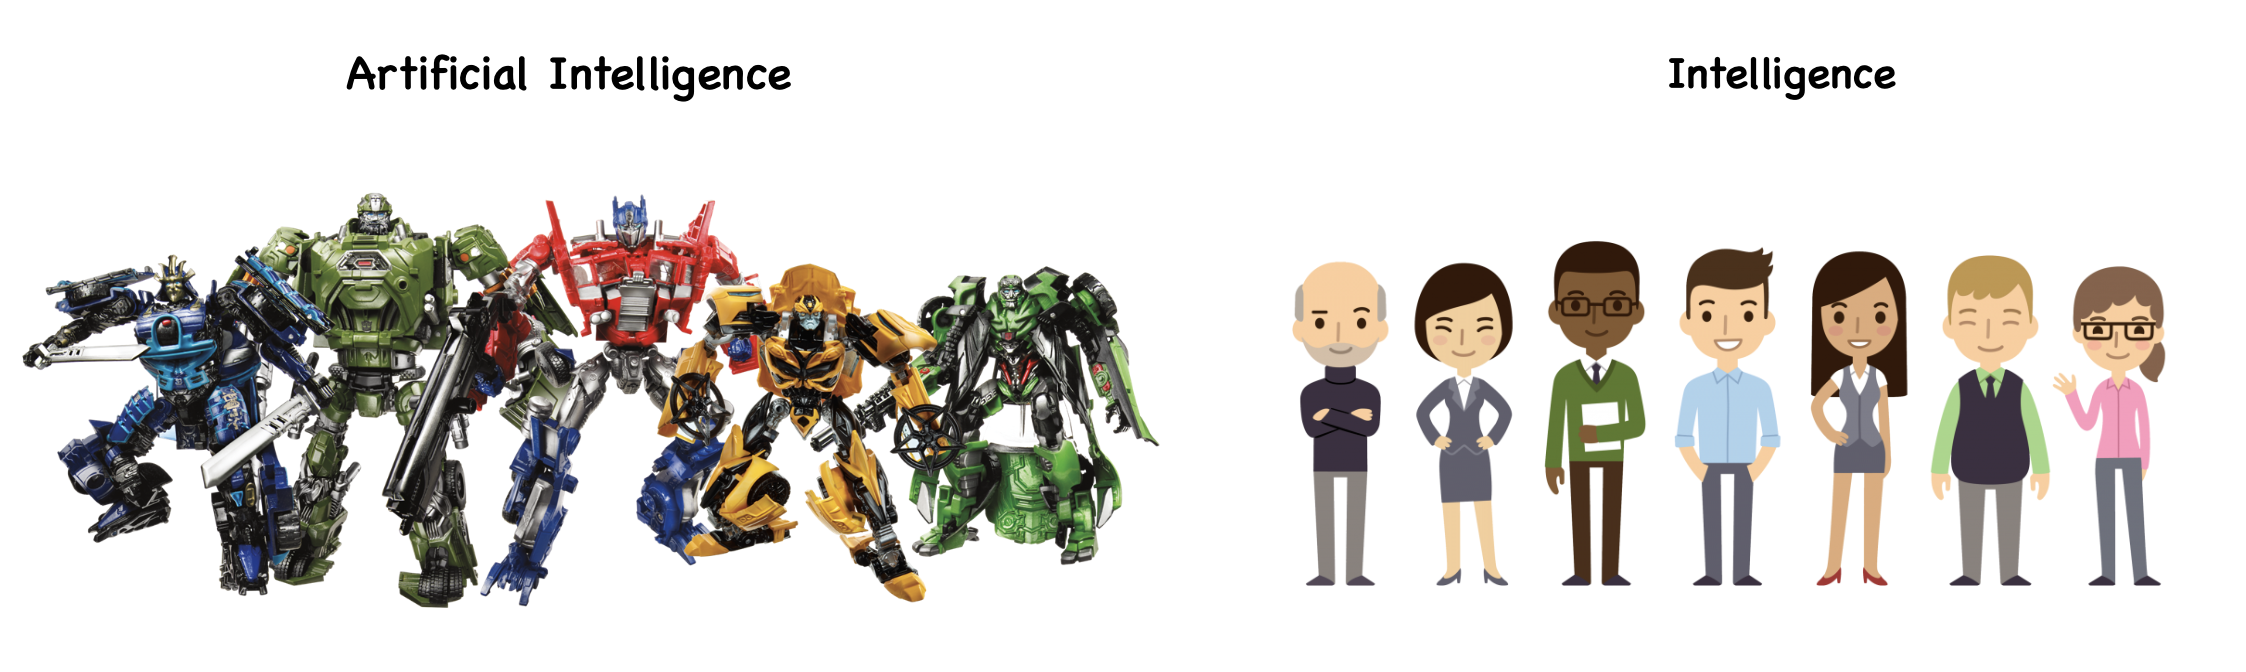
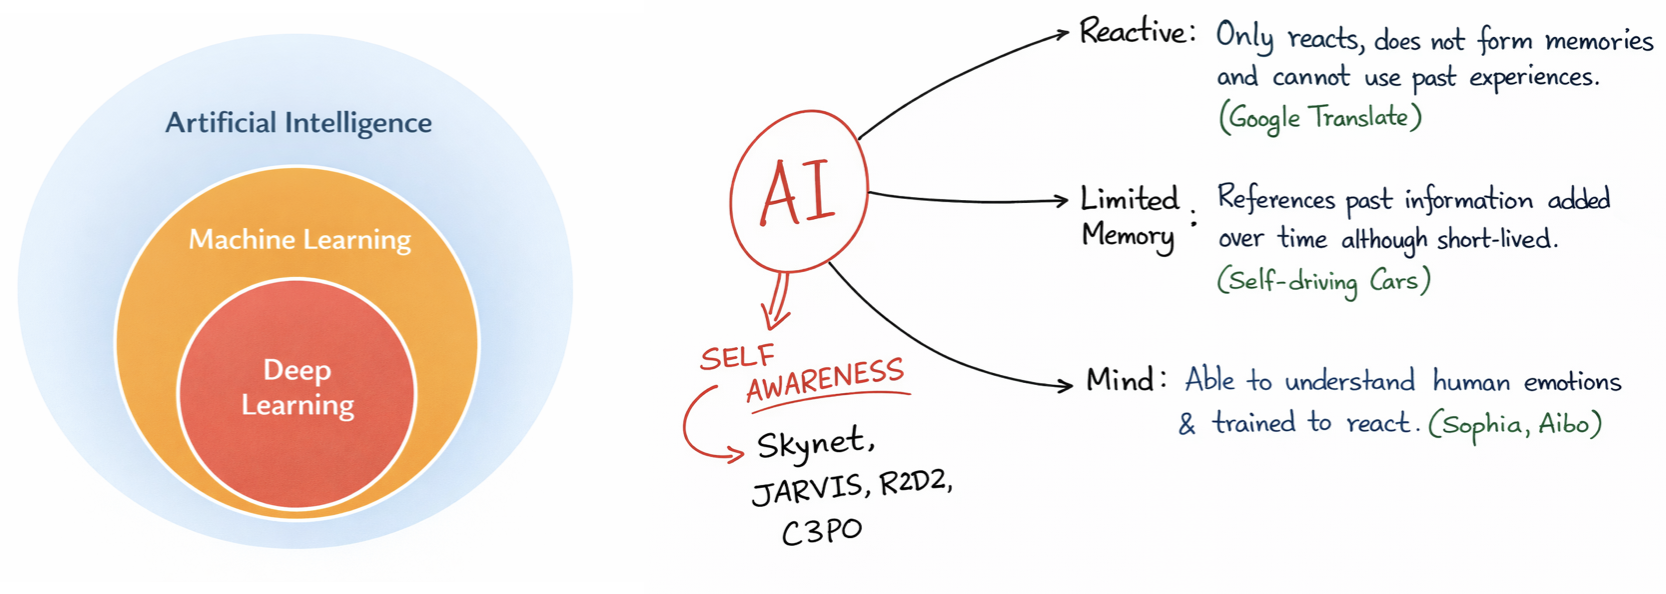
Aritificial intelligence leverages computers and machines to mimic the problem solving and decision making capabilities of the human mind.
Machine Learning
Machine learning is more dependent on human intervention to learn. Human experts determines the hierarchy of features to understand the difference between data inputs, usually requiring more structured data to learn.
Deep learning in general does not require that much structuring of data and extract features without much of a human intervention.
In classical programming, we the developers need to understand the aspect of the problem we are trying to solve, and to know exactly what all the rules are to make it to the solution
Example: Distinguish Squares and Circles
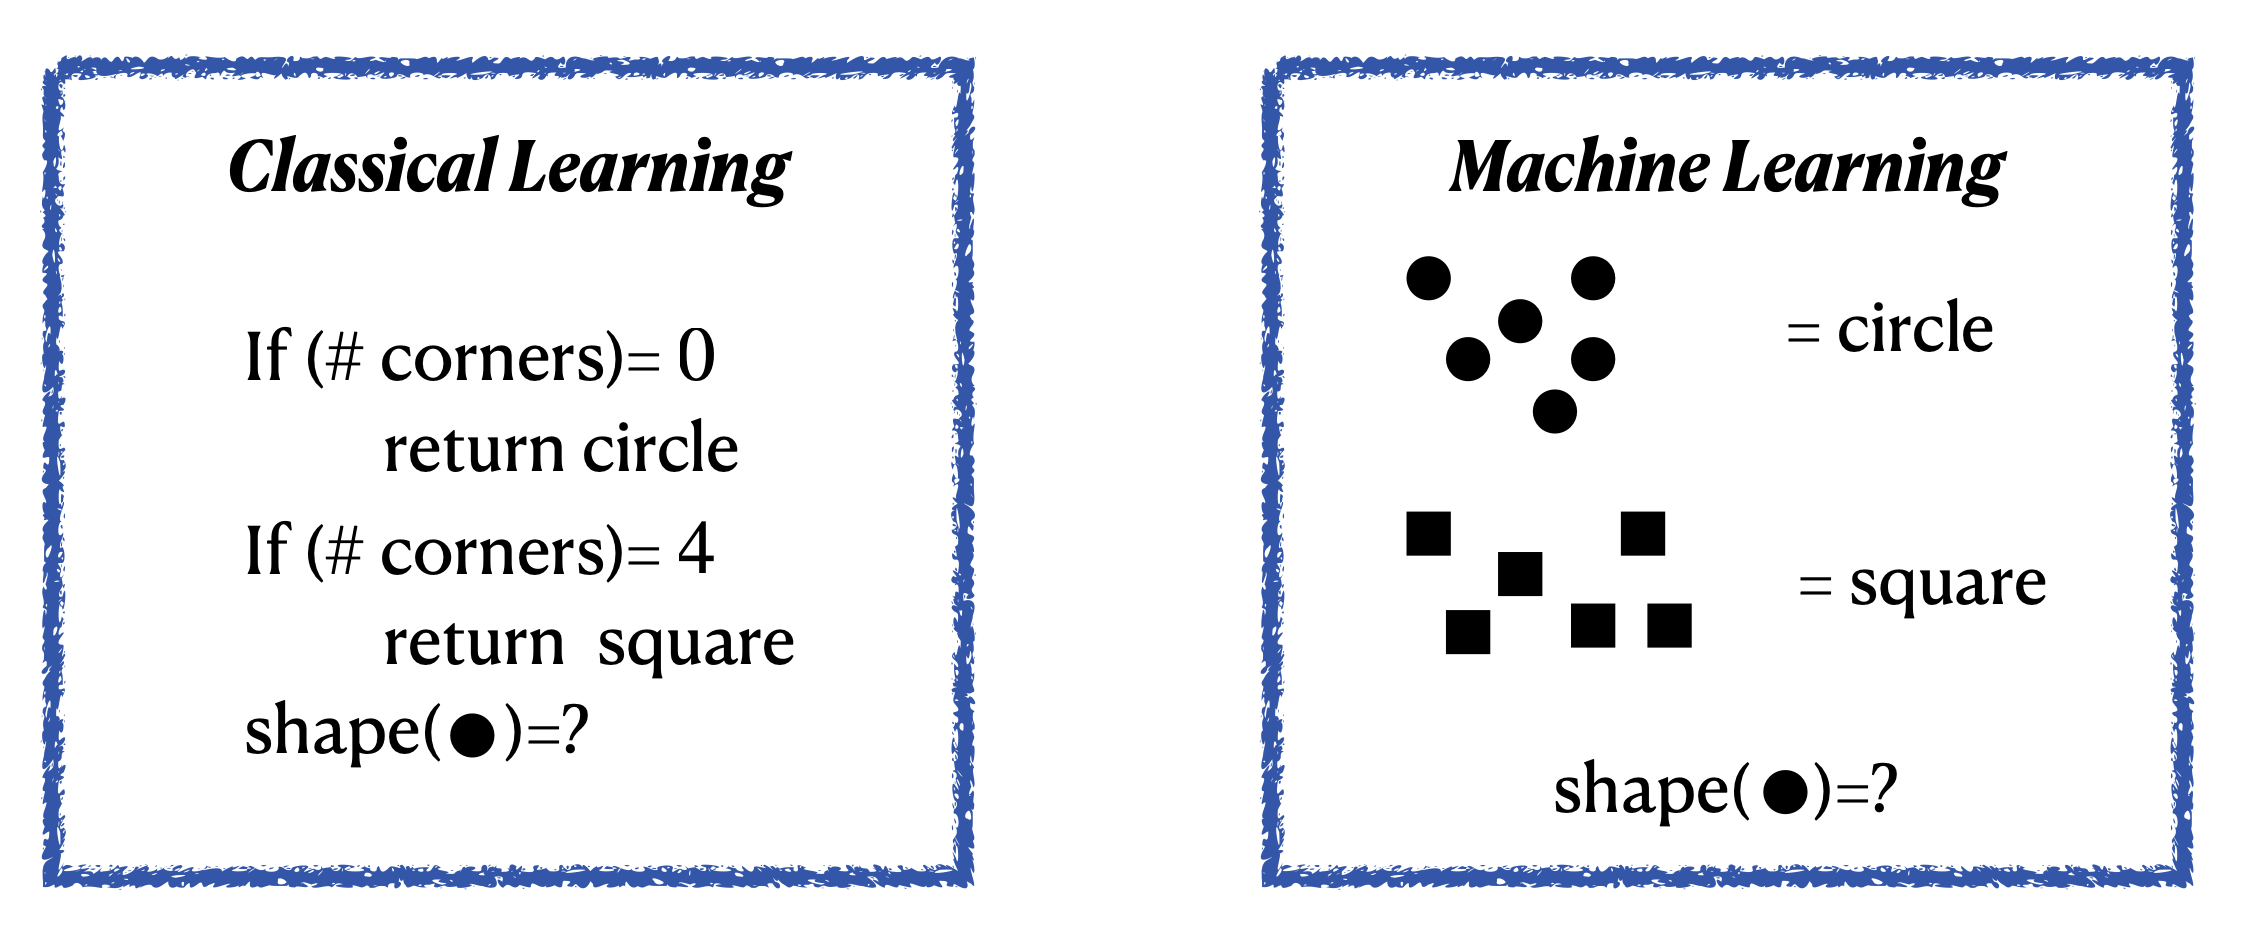
The standard coding algorithms that we use are constrained by statements like if, do-while, for etc. Even a very intelligent coder can only cover a finite number of scenarios through these.
Example: Self driving cars

What if: There is a human on a wet road and the signal in green??
Since our real world has infinite possibilities, explicit codings are not faithful or even practical .
Summary of machine learning
In a lot of sense ML can be summarised as the following
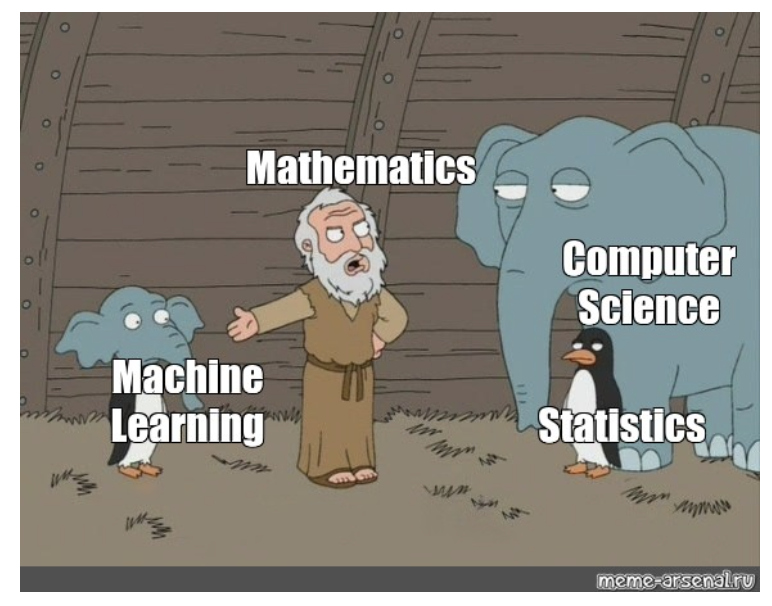
Figure 3:“Image source: https://
Rules for this mini course
Each of the following chapter will have a
 button. Clikcing on the button will open up the Jupyter Notebook in Google Collab, where you can modify and run the files as you wish. Remember that the only way to learn is to start first.
There are questions in the jupyter lab notebooks, where the answers are hidden. But a single click would unveil the answers. The mini course will work on an honour-system, you are not allowed to open the answers before you are told to do so.
Some pages in this mini course allow you to run Python directly inside the webpage. When such a page first loads, look for the
 button near the top of the page. Click this button first to turn on the interactive Python environment. The first startup may take a few moments while the browser prepares the kernel and loads the required packages.
Once the interactive environment is ready, runnable code cells will show controls like
 . The play button runs that particular code cell directly in your browser. The button next to it can be used to collapse or hide the code area.
For interactive figures, sliders, and widgets, first turn on the interactive environment using the power button, and then press the play button on the corresponding code cell. Some cells may depend on earlier cells, so it is usually best to run them in order.
Unfortunately, the in-browser
Pyodidesetup described above is not suitable for actually training the machine-learning models used later in this mini course. Therefore, whenever you reach pages involving ML applications and model training, please run the corresponding notebook either in Google Colab or on your local machine.If some of the code cells do not run in Google Colab, check the warning or error message for missing packages and install them in a new cell using
!pip install <missing-package-name>
before running the notebook again.
Running the course on your own computer
Why do we need a Python environment?
A Python project usually depends on several external packages: numpy, pandas, scikit-learn, torch, and so on. Different projects may require different packages or even different versions of Python.
A Python environment gives one project its own isolated collection of Python and its packages. This prevents the packages used for this course from interfering with packages used by your other projects or your OS itself.
For example, you could have
Environment A → ML course → Python + NumPy + PyTorch + scikit-learn

Environment B → another research project → Python + completely different packages
without the two projects fighting with each other.
There are several ways of creating environments. Below I give two options:
Using Conda — recommended if you already have Conda or are happy to install it.
Using Python’s built-in
venv— a lighter option that does not require Conda.
You only need to follow one of these two routes.
A note for Windows users
If you are using Windows, you have two possible ways of following the instructions below:
Use Windows directly through PowerShell or Command Prompt. Windows-specific commands are given below whenever they are different.
Use the Windows Subsystem for Linux (WSL), which gives you a Linux terminal inside Windows.
For scientific computing, WSL can be very convenient because most commands then look almost exactly like the Linux commands you will encounter on servers, computing clusters, and many research machines.
Installing WSL
If you already have WSL installed, you can skip this part.
Otherwise, open PowerShell as Administrator:
Search for
PowerShellfrom the Windows Start menu.Right-click it.
Choose Run as administrator.
Then run
wsl --installRestart your computer when Windows asks you to.
By default, WSL will install an Ubuntu Linux environment.
After restarting, open Ubuntu from the Start menu. The first time it starts, you will be asked to create a Linux username and password. Make sure to remember this password, as you will need it whenever you run administrator (sudo) commands.
You can check that WSL is installed by running the following from PowerShell:
wsl --list --verboseFor more information, see the official Microsoft instructions:
Once you are inside the Ubuntu/WSL terminal, update the Linux package information:
sudo apt updateand install some basic tools that we will need:
sudo apt install python3 python3-pip python3-venv git -yFrom this point onward, if you are using WSL, you can simply follow the macOS/Linux/WSL commands given below.
cd ~Here ~ means your Linux home directory, something like
/home/your_username/After that you are ready to follow the rest of the instructions below.
Getting the course files
This part is common to both installation methods. You only need to clone the course repository once.
Open a terminal:
On macOS/Linux, use your normal terminal.
On Windows, use PowerShell or Command Prompt.
If you installed WSL, open your Ubuntu terminal.
First make sure that Git is available:
git --versionIf Git is installed, this should print a version number.
Now clone the course repository:
git clone https://github.com/chattopadhyayA/ml_course.gitThen move inside the repository:
cd ml_courseYou should now be inside a directory containing files and folders such as
myst.yml
requirements.txt
content/
content_nb/
exercises/
The lecture notebooks shown during the class are inside content/, class exercises are in content_nb/, while the exercise notebooks are inside exercises/.
Now choose one of the two environment setups below.
Option A: Setting things up with Conda
Conda is both an environment manager and a package manager. One useful feature is that we can ask Conda to create an environment with a particular Python version instead of relying on whichever Python happens to be installed on the computer.
If you do not already have Conda, install either Miniforge or Miniconda first. For Miniconda, you can follow the official installation guide here:
After installation, open a new terminal and check that Conda is available:
conda --versionIf this prints a version number, we are ready.
1. Create a new environment
For this course, let us call the environment rivendell:
conda create -n rivendell python=3.11 -yThis creates a separate Python installation specifically for this course.
Every journey needs a safe place from which to begin, and ours begins in Rivendell.
2. Activate the environment
conda activate rivendellFor Windows Users: The conda activate command will often fail in standard Windows PowerShell. Instead of using normal PowerShell, please search for and open the “Anaconda Prompt” or “Miniforge Prompt” from your Windows Start menu to run the following Conda commands.
You should now see something similar to
(rivendell) $at the beginning of your terminal prompt.
That (rivendell) is important: it tells you that commands such as python and pip are now using the course environment.
3. Install the packages used in the course
First update pip:
python -m pip install --upgrade pipThen install everything listed in the requirements.txt file:
python -m pip install -r requirements.txtThe installation of PyTorch and related packages may take a little while.
4. Make the environment visible to Jupyter
JupyterLab and the Python environment that runs your code are actually two separate things. To make our rivendell environment appear explicitly as a choice inside JupyterLab, we register it as a Jupyter kernel.
Run:
python -m ipykernel install --user --name rivendell --display-name "Python (Rivendell)"You can check that the kernel was registered successfully with
jupyter kernelspec listYou should see an entry called rivendell.
Now Jupyter knows that it can use the Python installation and packages inside our rivendell environment.
5. Start JupyterLab
Make sure that you are still inside the activated rivendell environment and inside the ml_course directory, then run
jupyter labA browser window should open with the JupyterLab interface.
Open the notebook you want to work with. If Jupyter asks you to select a kernel, choose
Python (Rivendell)You can also change the kernel later from the Kernel menu in JupyterLab.
6. When you are finished
You can leave the environment with
conda deactivateThe next time you work on the course, you do not need to install everything again.
Simply go back to the repository, activate Rivendell, and start JupyterLab:
cd ml_course
conda activate rivendell
jupyter lab
and you are back where you left off.
Option B: Setting things up without Conda
Python itself contains a lightweight environment system called venv.
Unlike Conda, venv does not install a separate Python version for you. It starts from a Python installation that is already present on your computer and creates an isolated place for the packages used by this project.
Check that Python is installed
On macOS, Linux, or WSL, run:
python3 --versionOn Windows, try:
py --versionor, depending on your Python installation,
python --versionFor this course, Python 3.11 is a safe choice.
1. Create the environment
Make sure that you are inside the cloned ml_course directory.
On macOS, Linux, or WSL, run
python3 -m venv rivendellOn Windows PowerShell or Command Prompt, run
py -m venv rivendellThis creates a directory called rivendell containing the isolated environment.
Notice that both the Conda and venv approaches use the same environment name. Regardless of which road you choose, we all eventually arrive at Rivendell.
2. Activate it
On macOS, Linux, or WSL:
source rivendell/bin/activateOn Windows PowerShell:
rivendell\Scripts\Activate.ps1On Windows Command Prompt:
rivendell\Scripts\activate.batIf PowerShell refuses to run the activation script because of its script-execution settings, you can either use Command Prompt instead or use WSL and follow the Linux instructions.
After activation, you should normally see something like
(rivendell) $at the beginning of your terminal prompt.
3. Install the course packages
First update pip:
python -m pip install --upgrade pipThen install the packages required by the course:
python -m pip install -r requirements.txt4. Make the environment visible to Jupyter
JupyterLab and the Python environment that runs your code are actually two separate things. To make our rivendell environment appear explicitly as a choice inside JupyterLab, we register it as a Jupyter kernel.
Run:
python -m ipykernel install --user --name rivendell --display-name "Python (Rivendell)"You can check that the kernel was registered successfully with
jupyter kernelspec listYou should see an entry called rivendell.
Now Jupyter knows that it can use the Python installation and packages inside our rivendell environment.
5. Start JupyterLab
Make sure that you are still inside the activated rivendell environment and inside the ml_course directory, then run
jupyter labA browser window should open with the JupyterLab interface.
If you are using WSL and a browser does not open automatically, look at the terminal output. Jupyter will print an address similar to
http://localhost:8888/lab?token=...Copy that address and open it in your normal Windows web browser.
Open the notebook you want to work with. If Jupyter asks you to select a kernel, choose
Python (Rivendell)You can also change the kernel later from the Kernel menu in JupyterLab.
6. Leaving the environment
When you are finished:
deactivateThe environment stays on your computer. You do not need to recreate or reinstall it every time.
The next time you want to work on the course:
On macOS, Linux, or WSL:
cd ml_course
source rivendell/bin/activate
jupyter lab
On Windows PowerShell:
cd ml_course
rivendell\Scripts\Activate.ps1
jupyter lab
On Windows Command Prompt:
cd ml_course
rivendell\Scripts\activate.bat
jupyter lab
Check that everything works
After installing the packages, you can do a quick test from the terminal:
python -c "import numpy, pandas, scipy, sklearn, matplotlib, seaborn, torch; print('Everything looks good!')"If you see
Everything looks good!your basic setup is ready.
You can also verify that Jupyter can see Rivendell:
jupyter kernelspec listand make sure that rivendell appears in the output.
Acknowledgments
No journey through the lands of Machine Learning is completed alone.
A very big thank you to Meghanto for writing the Thebe-Lite patch and updating the deployment workflow, which helped make the in-browser notebook experience smoother, kinder, and far less like crossing the Mines of Moria without a torch. Without this update, some of our notebooks might still be lost somewhere between missing packages and mysterious kernel errors.
I would also like to warmly thank the mentors of the HSF training programme for their guidance and suggestions shaping this mini course: specially Aashirvad and Karan. Any bright paths in this material were lit with help from the fellowship; any remaining bugs, typos, or cursed cells are mine to carry.
More acknowledgements will be added soon — this section is still on its way to Mordor.